


For those days when going out isn’t an option, or you’d just rather watch the rain fall from inside, it is always nice to have some activities up your sleeve. As I said in my original Rainy Days, Runny Noses post, assuming I can lounge and do next-to-nothing with my two toddlers usually ends up being a disastrous day. So, on those days stuck inside, I like to have a few activities up my sleeve. Here are some fall-inspired ideas we’ve done recently:
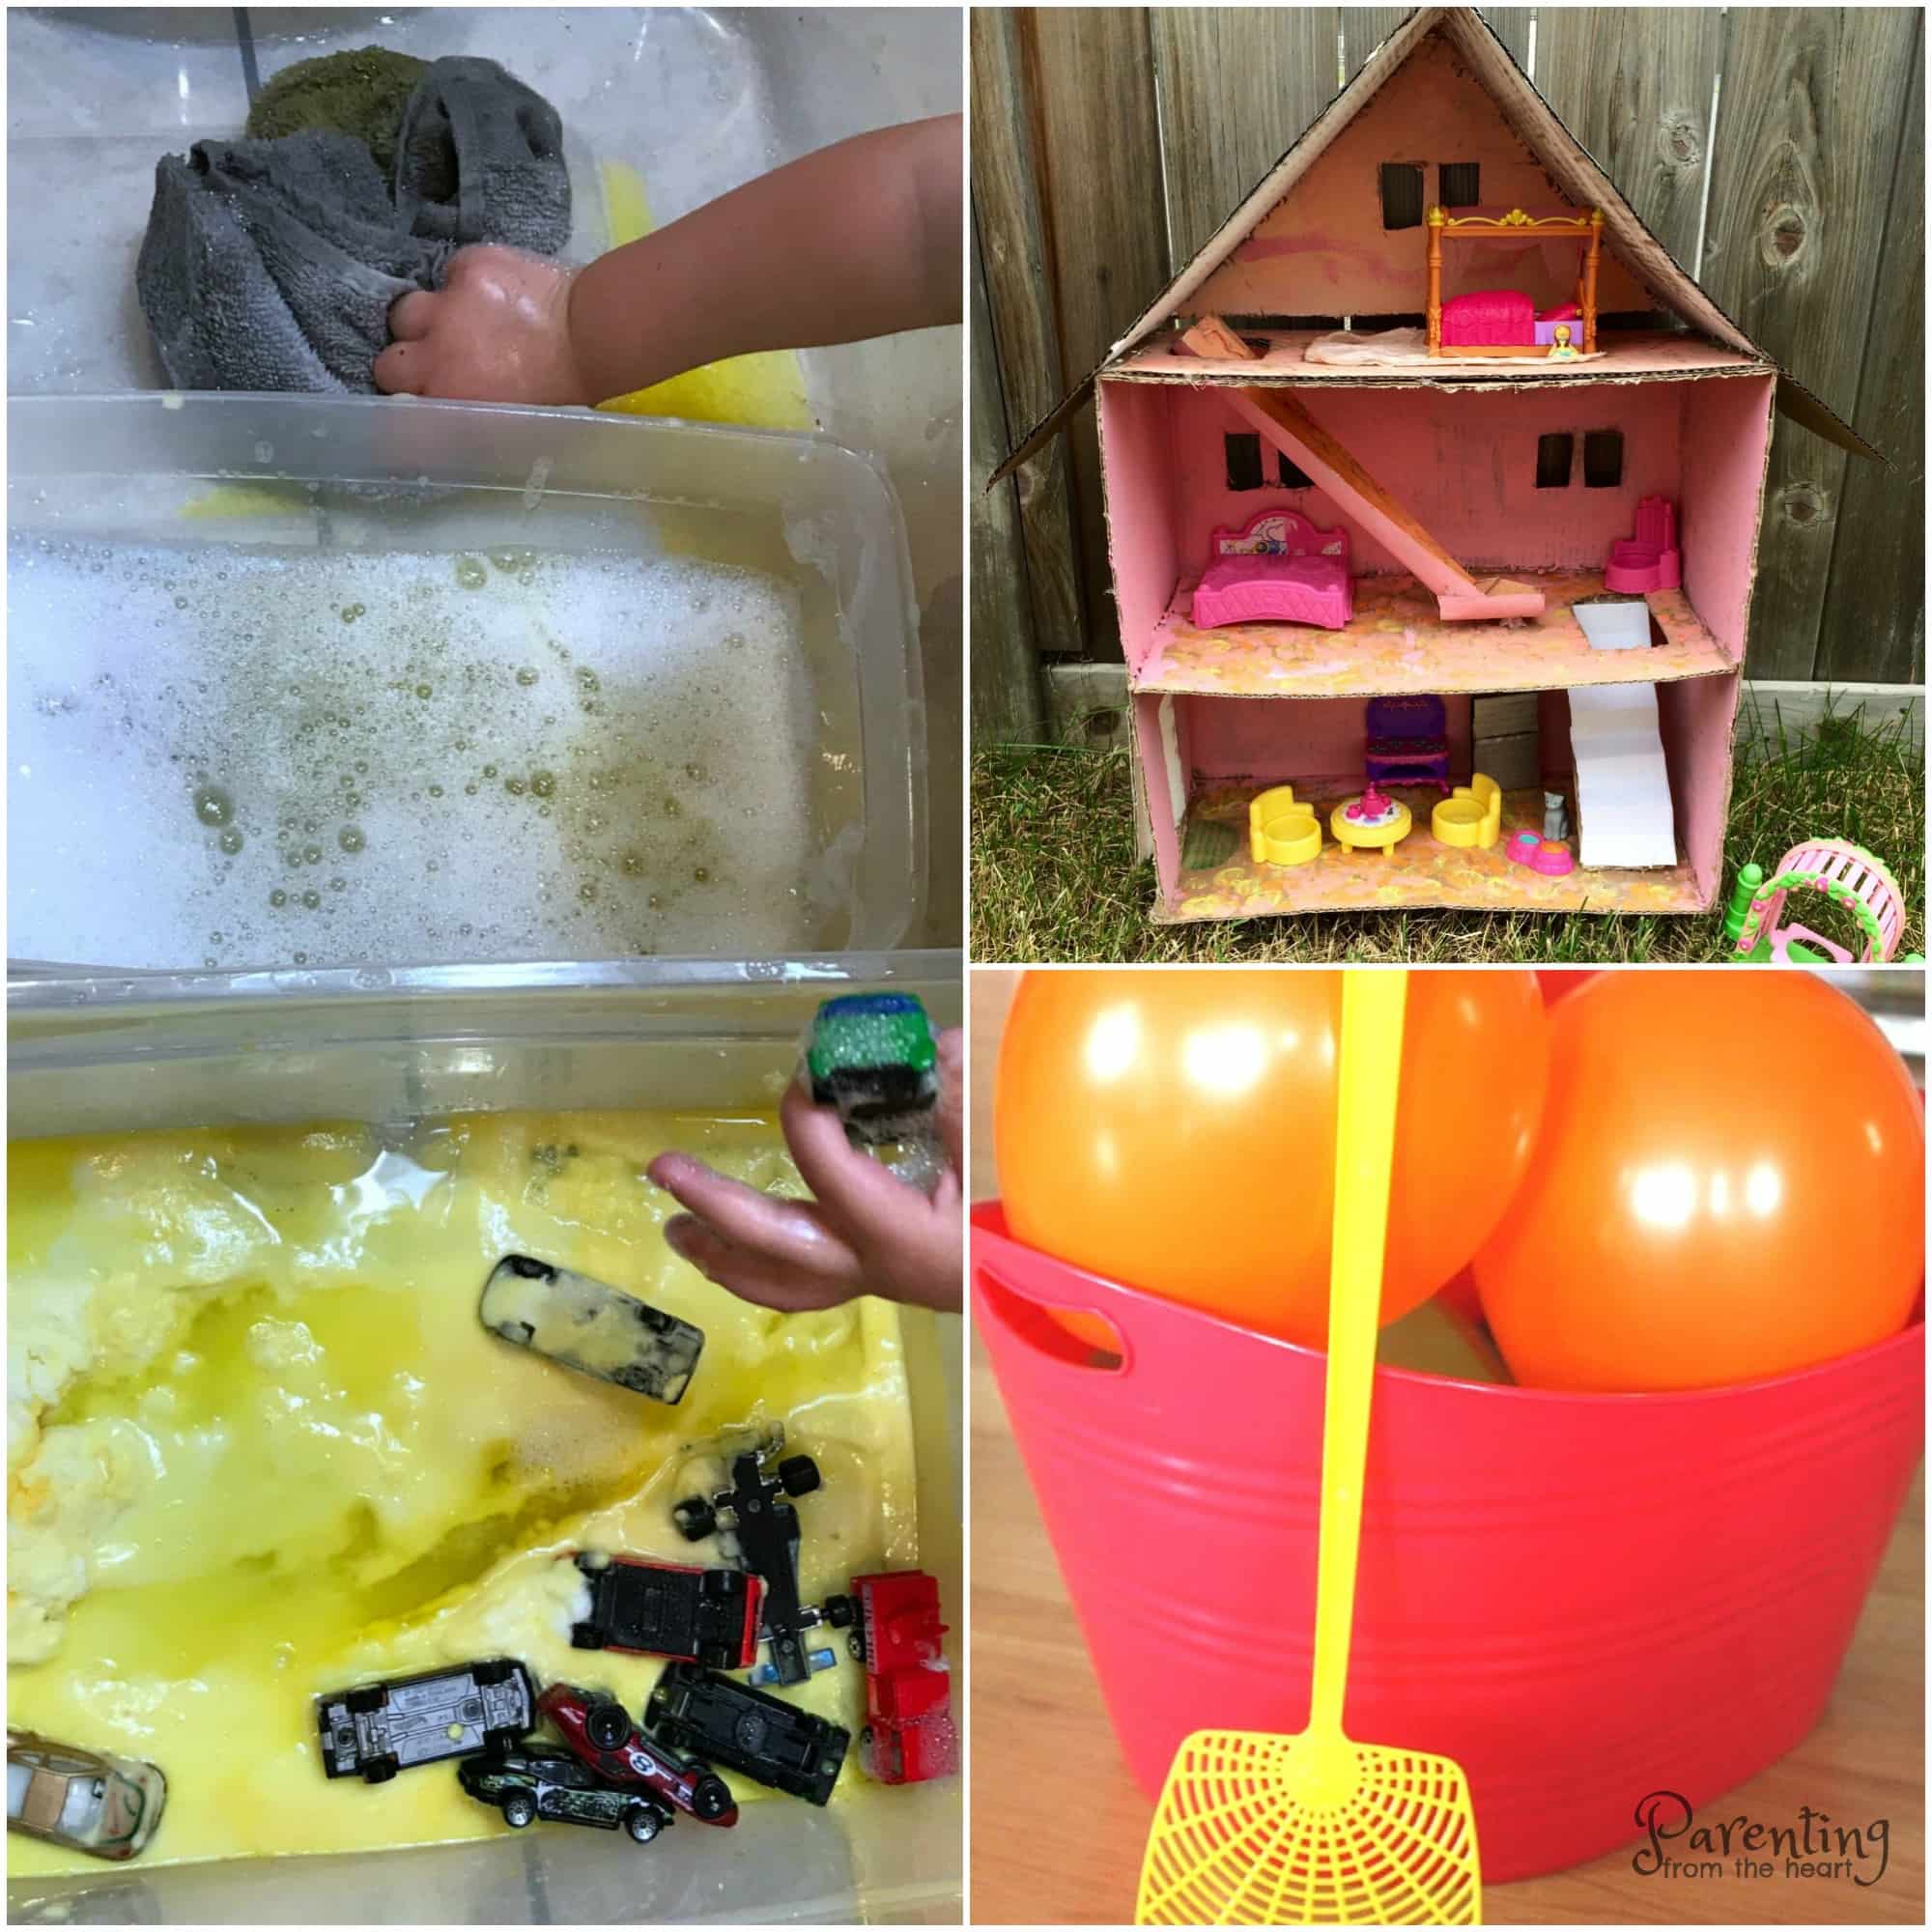
Fall-Coloured Cloud Dough
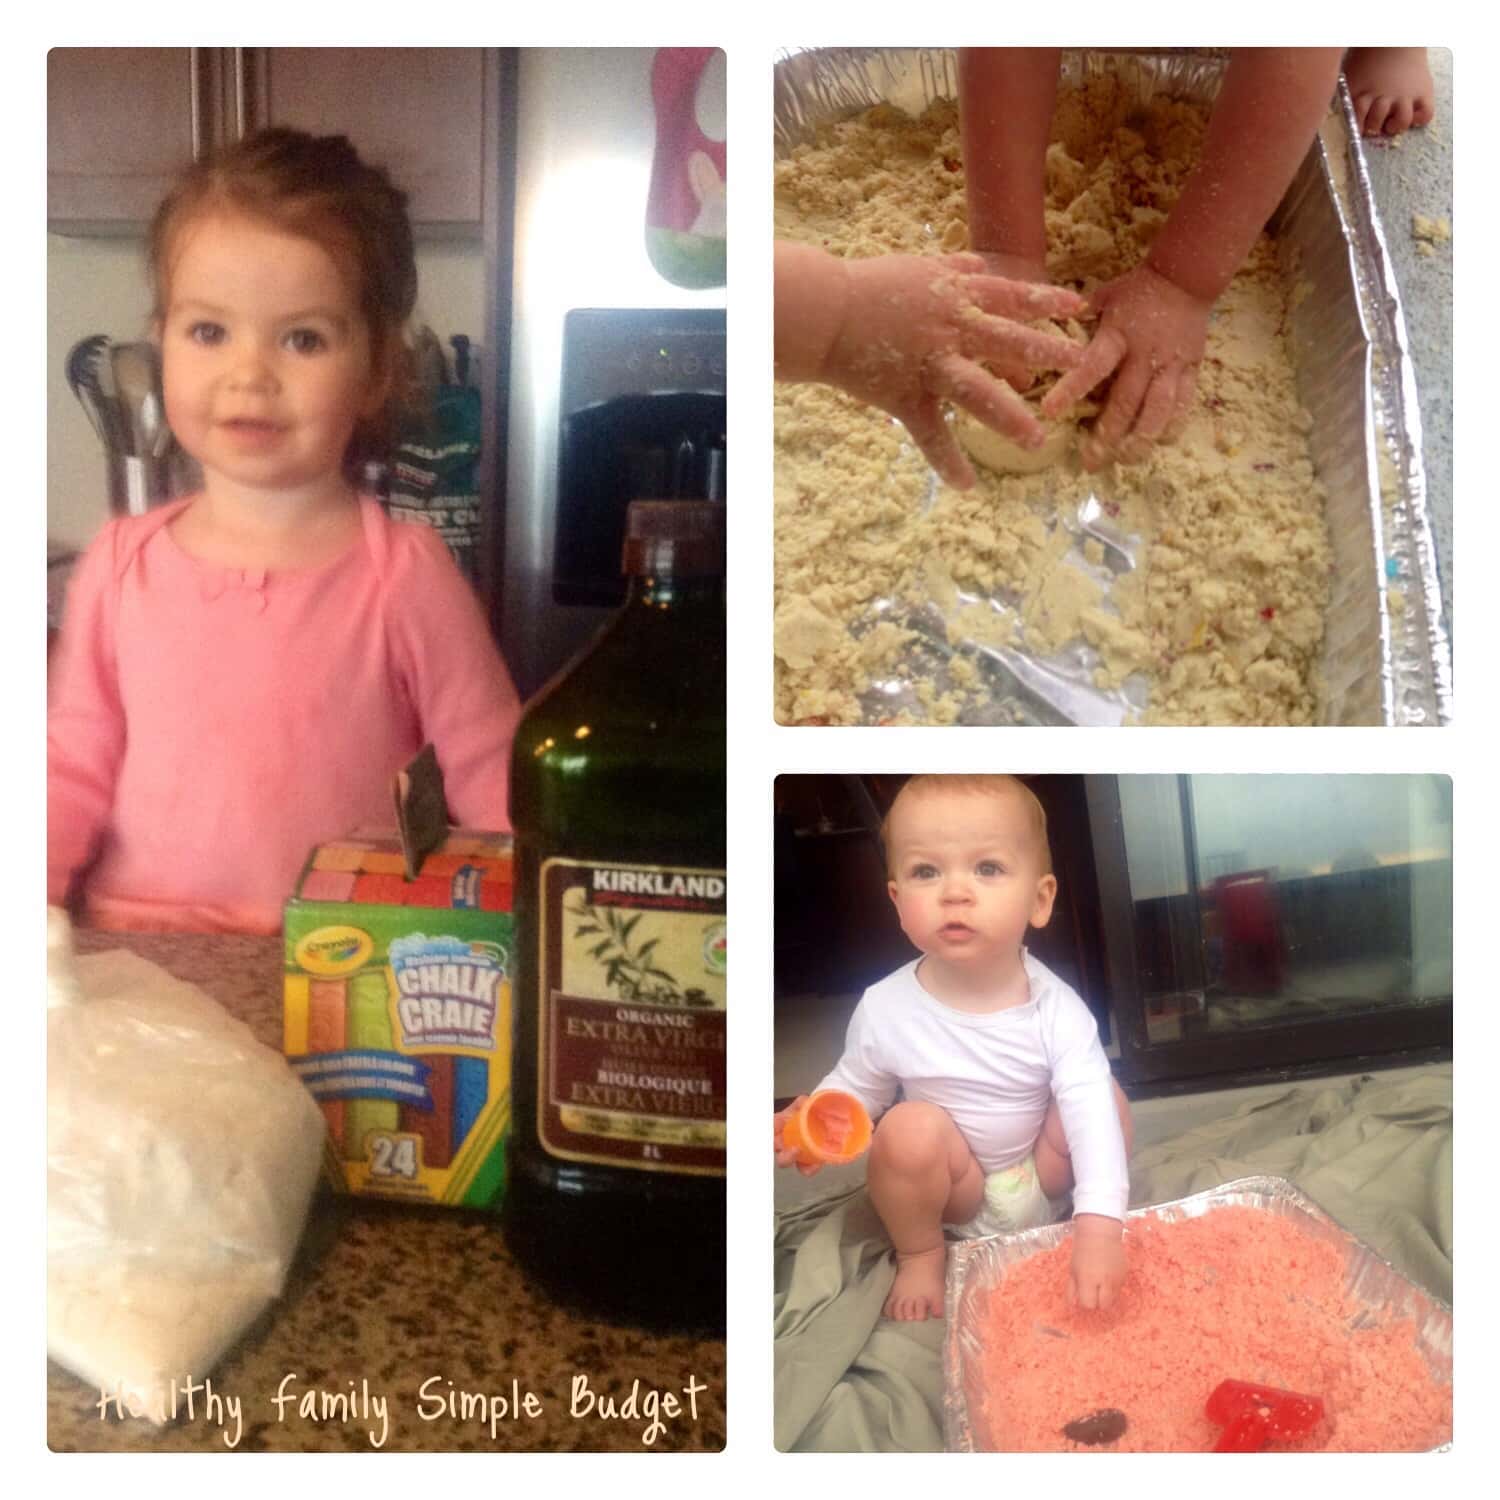
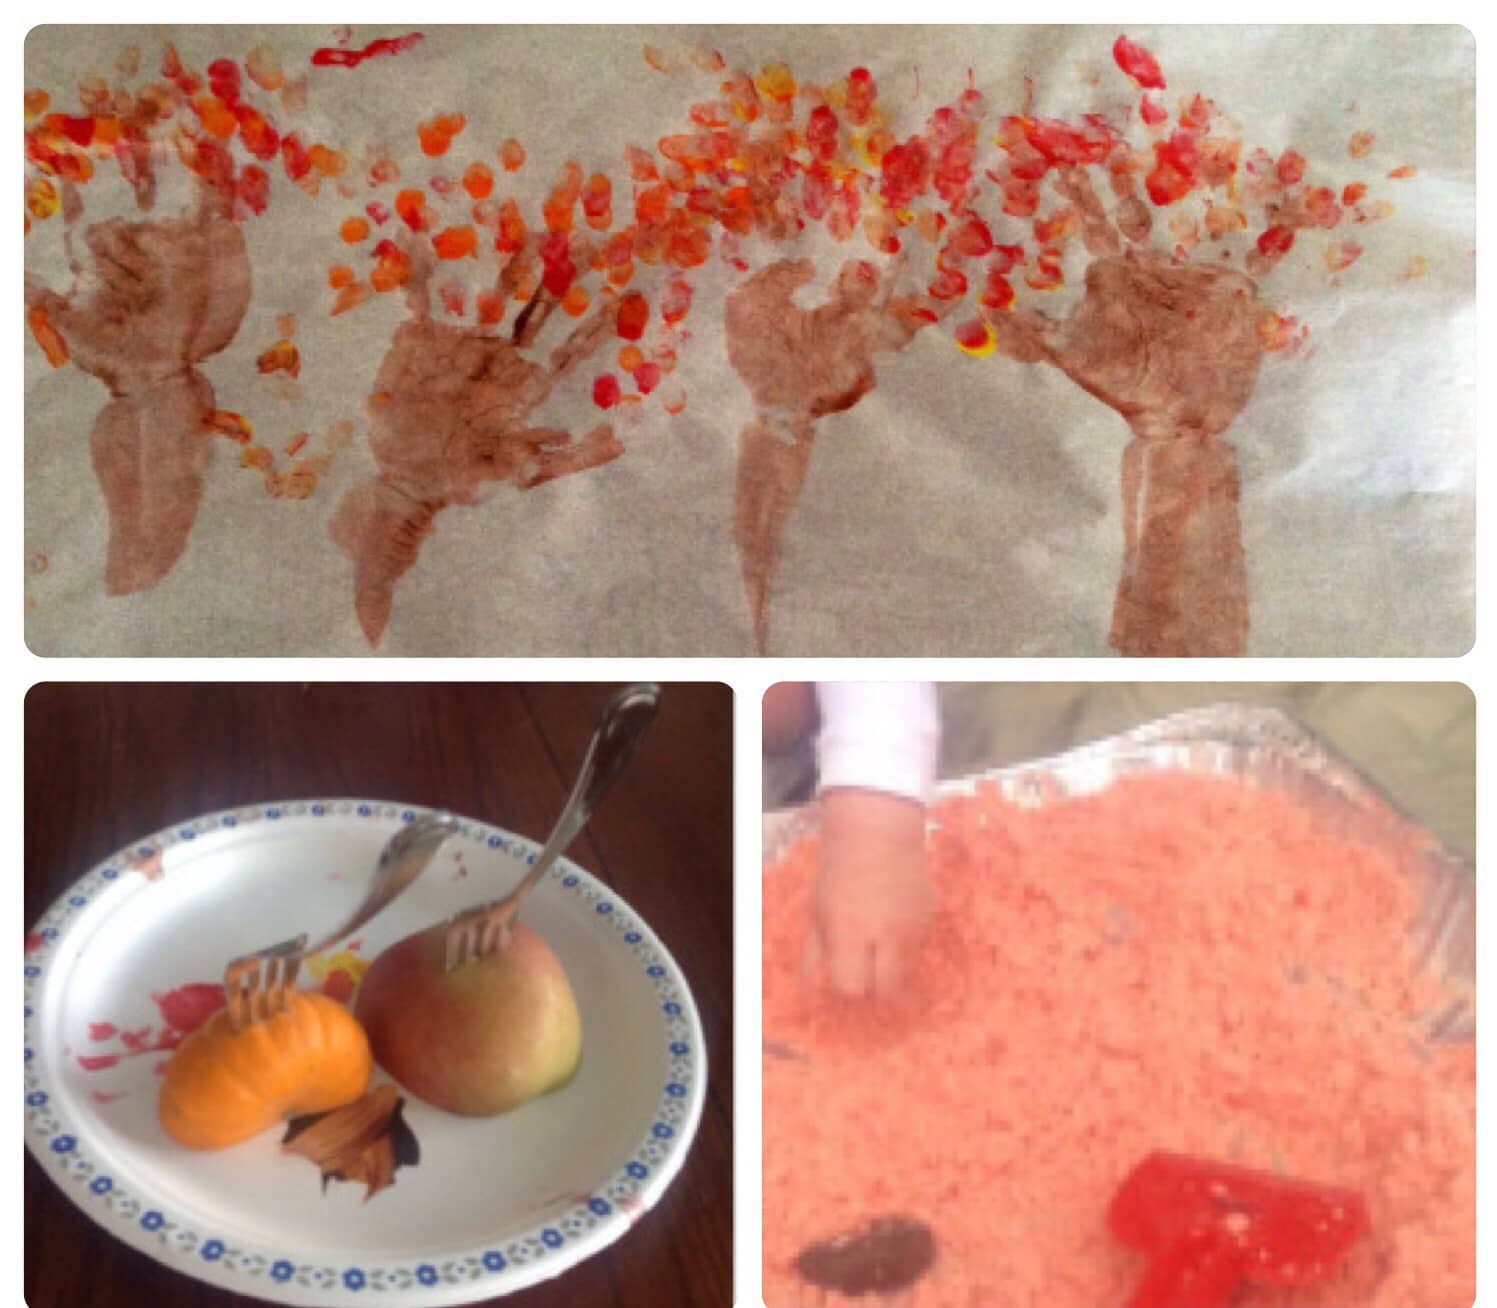
If you have yet to try this with your young kids, say hello to some time where they will be asking for nothing. My only warning is that it is quite messy, so I would recommend it staying outside, being played with in a large container, and having an old sheet, or tablecloth underneath. Preschoolers may be more reasonable at containing the mess. My two under three years of age aren’t so much. If I haven’t scared you off (I swear it is so much fun), here is the how-to.
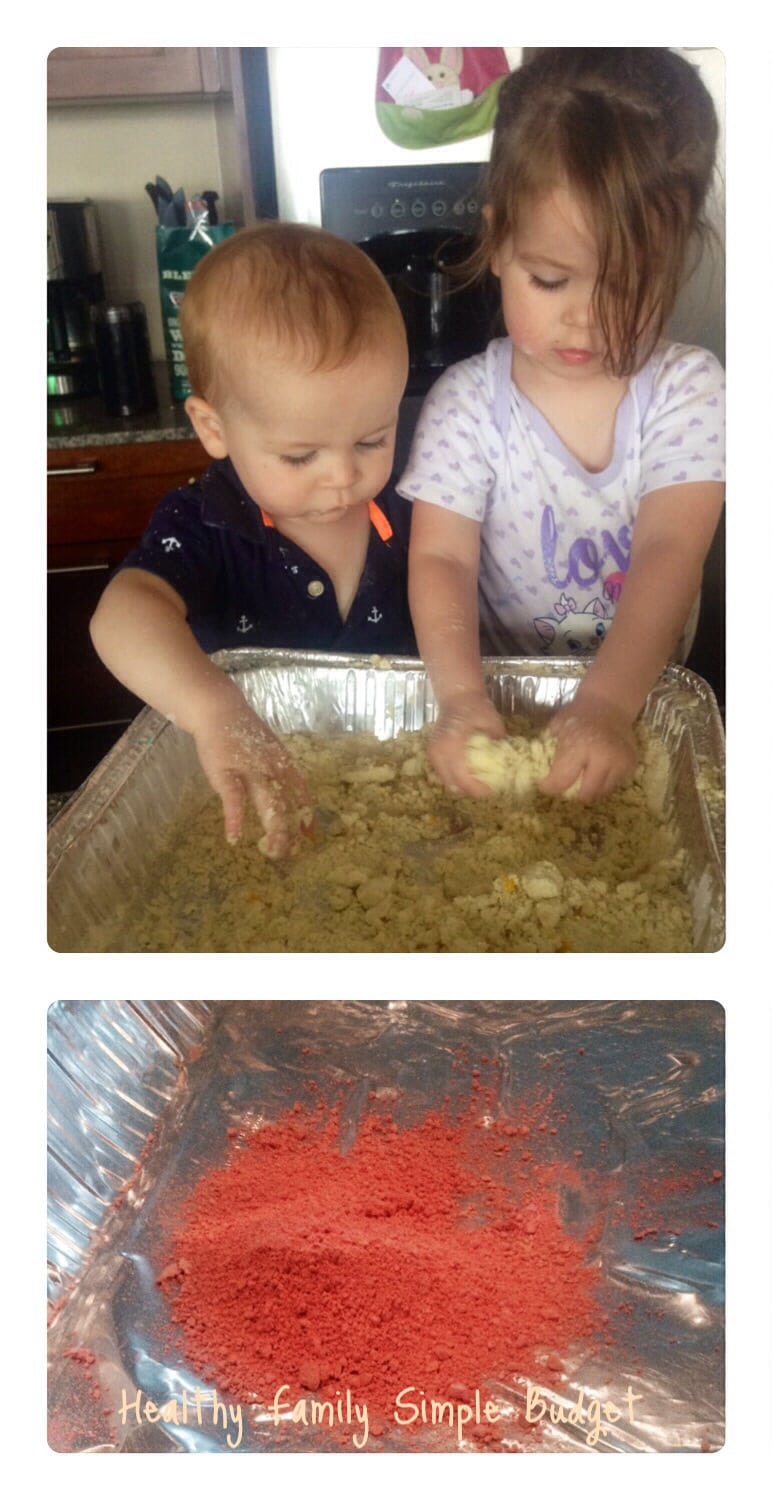
What we use
- 4 cups of flour (for crafts, I buy the cheapest flour I can fin in the bulk section of our grocery store
- 1 cup olive oil (it might smell really olive-y, but it’ll dissipate)
- 2 large pieces of coloured sidewalk chalk, cut finely
- Large disposable roasting pan (cost roughly $4)
- Disposable table cloth or old bed sheet
What we do
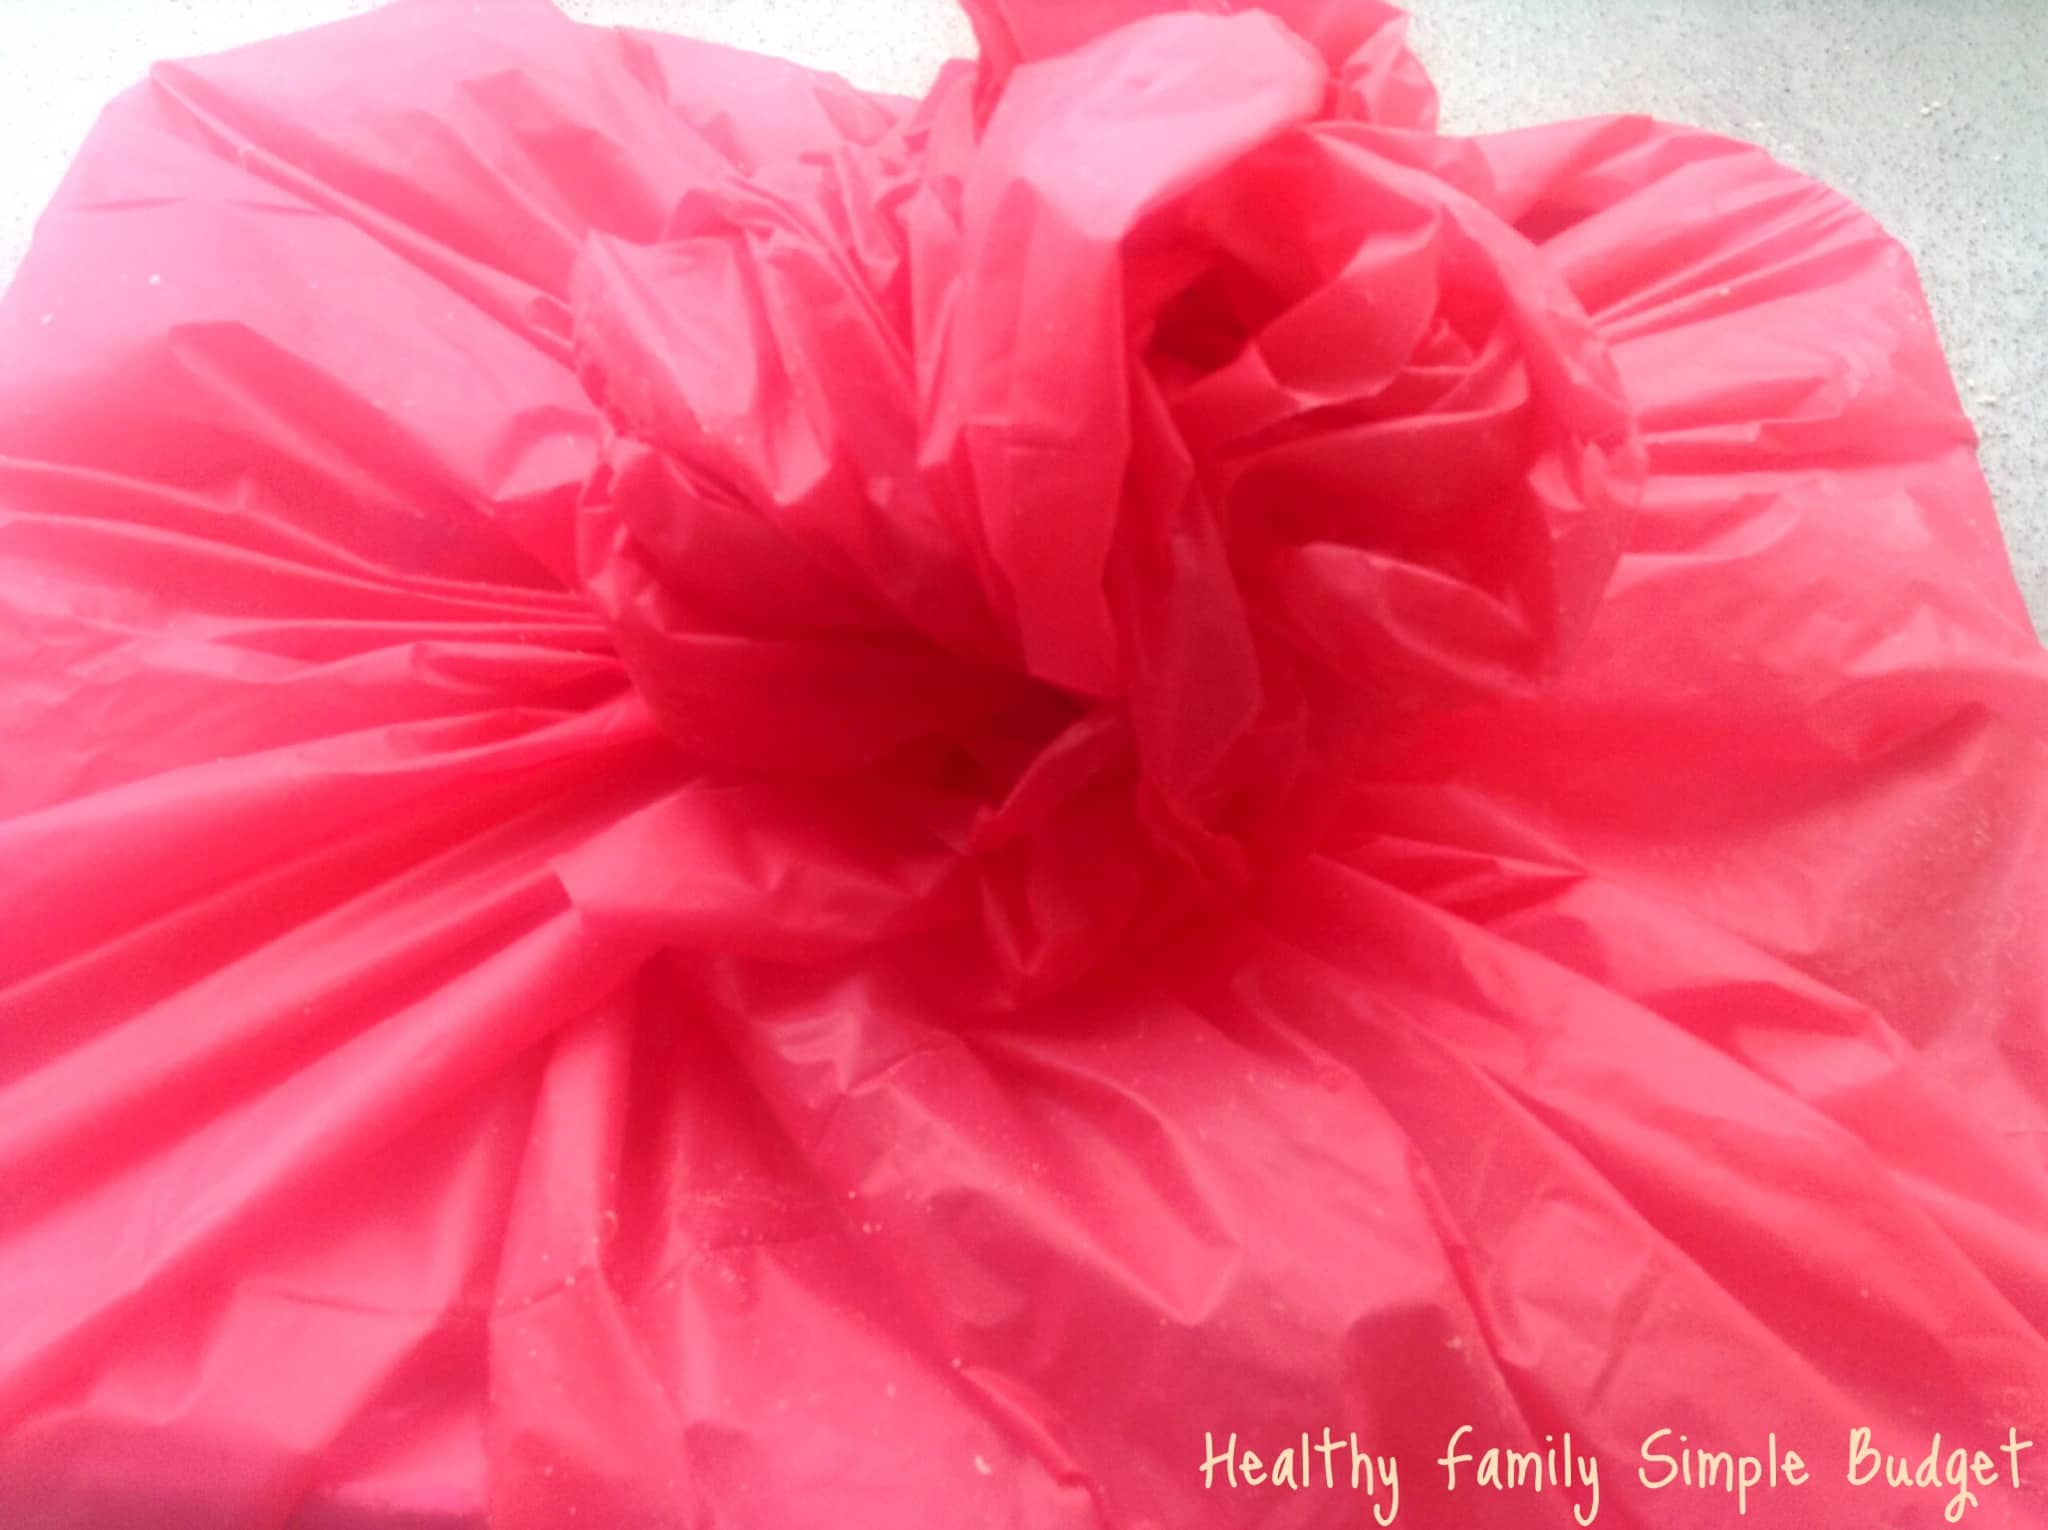
In the large roasting pan, we measure out the flour and oil. Then with a food processor or knife, cut up chalk (I actually used a slap-chop most recently) until very fine. Mix all ingredients together. Set out sheet or table cloth, set pan on top, find fun toys that might leave a cool wheel impression, or can be used to make mini sand castles. Have a blast, then wrap up pan in sheet/ table cloth. Cloud dough can be stored safely for several weeks (could be more, but the longest I’ve kept it is about 6 weeks).
Finding Fall Scavenger Hunt Painting
If you are tired of being cooped inside, and a bit of moist air may just be what’s needed to clear up those runny noses, head out and look for what’s dropped from trees and start collecting leaves, chestnuts, pinecones, or whatever you happen to find. Doing so is also such a nice activity to stop and take in what nature has to offer. Once home, clean off your fallen treasures and get ready to paint!
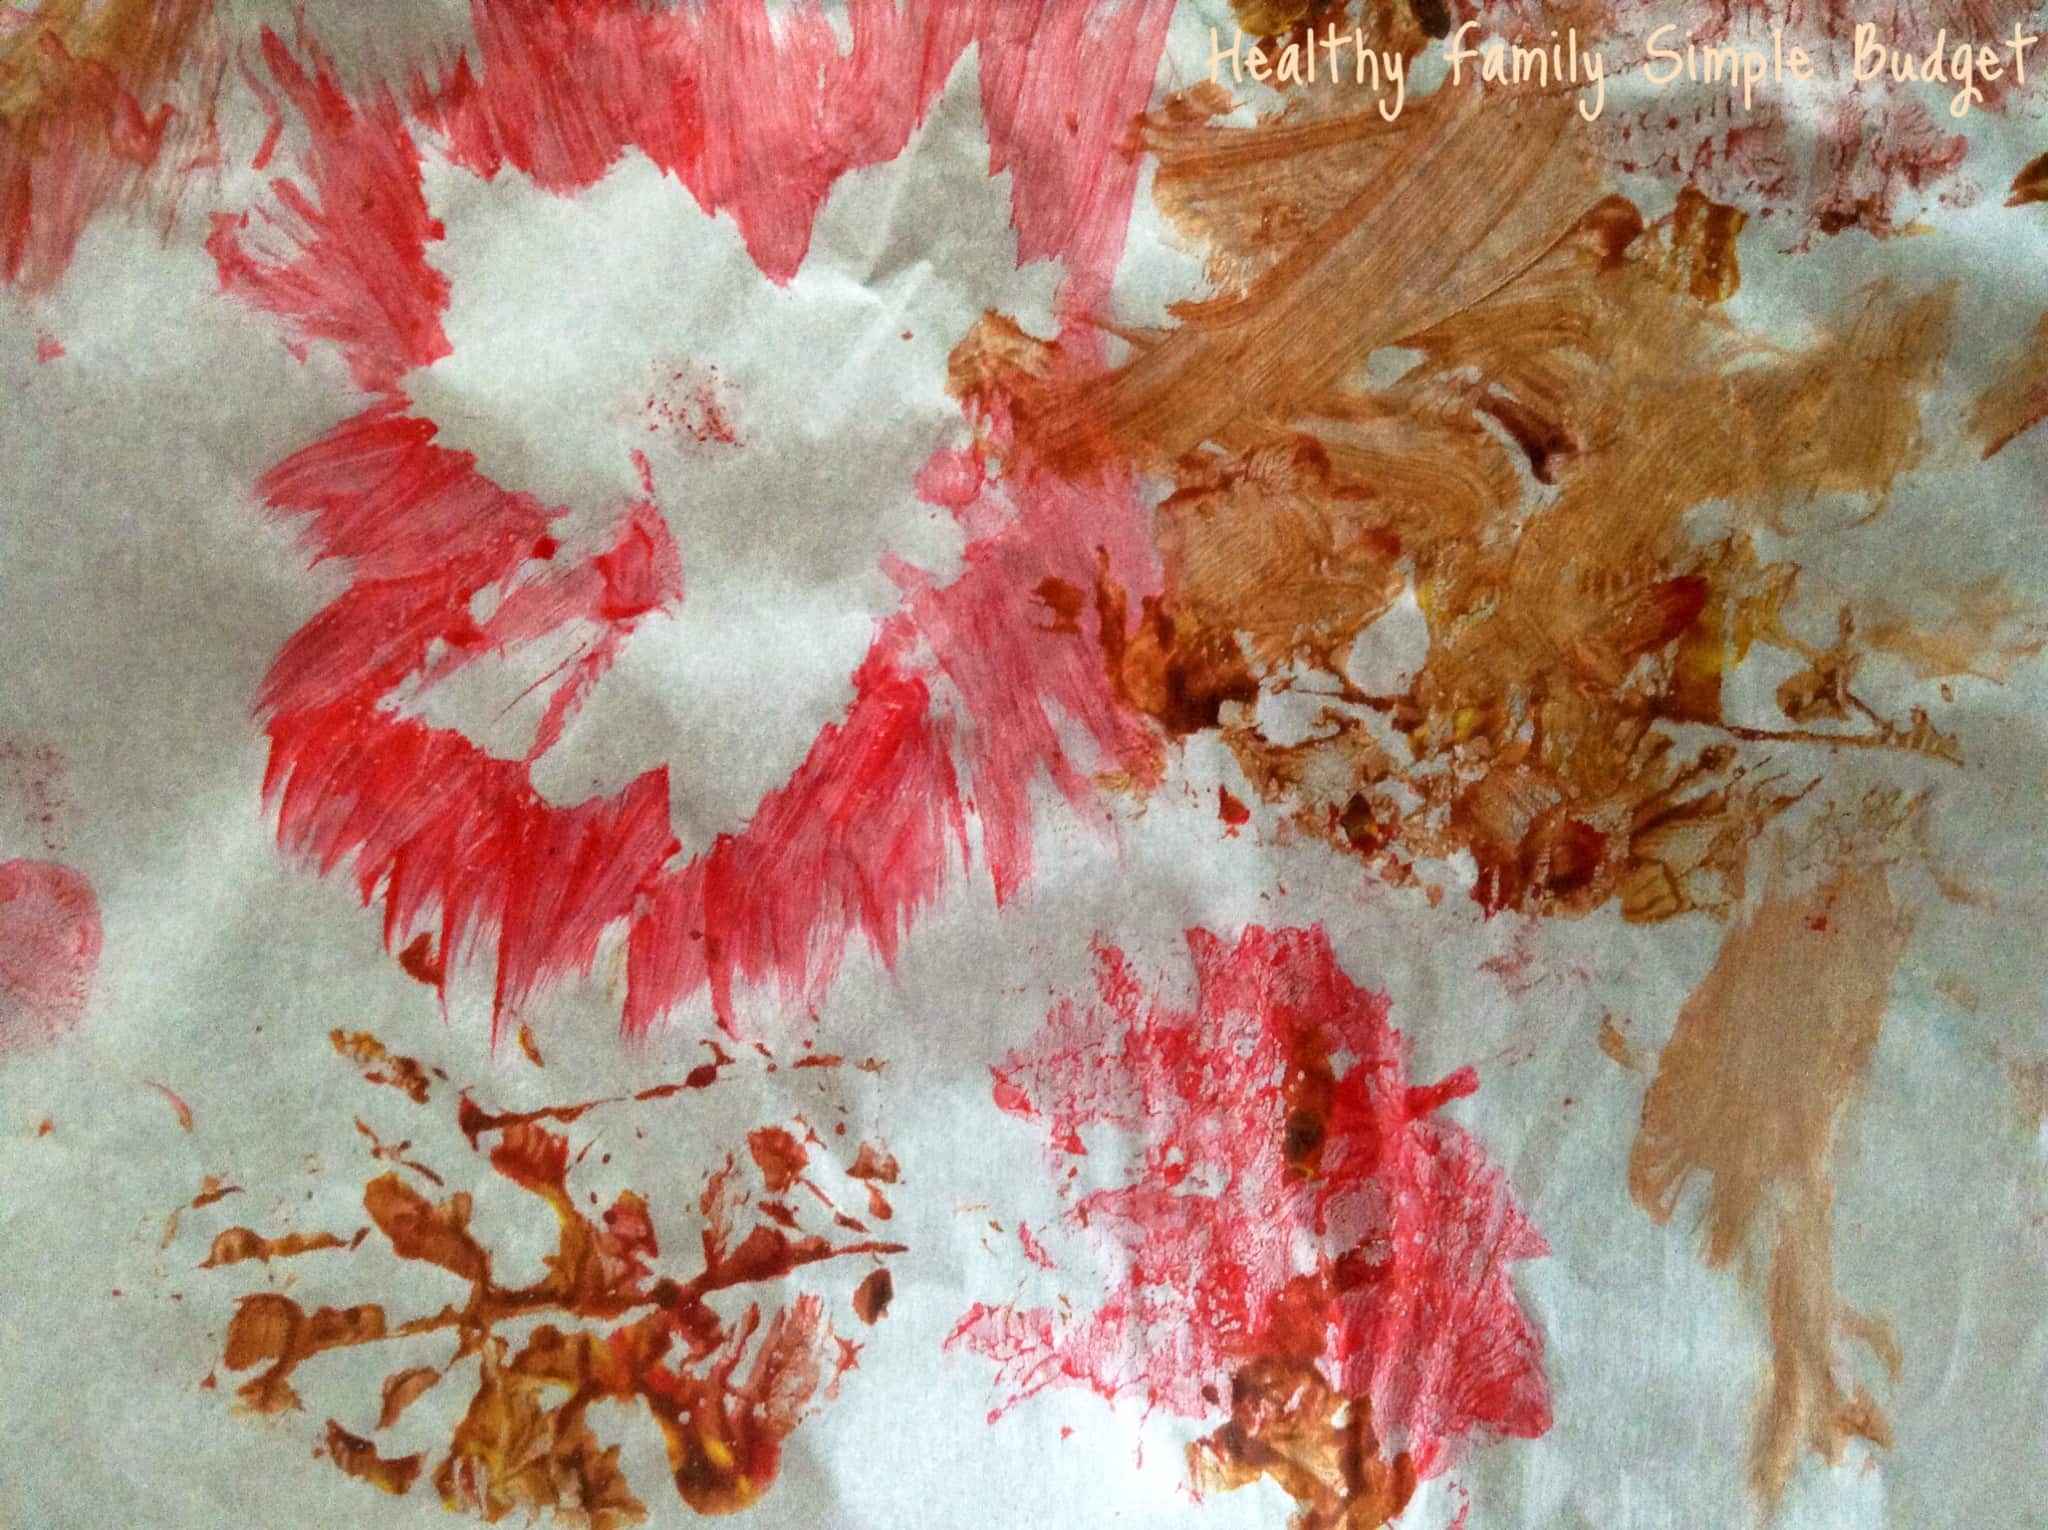
What we used
- Large paper plate
- Orange, yellow, and red paint
- Parchment paper or Bristol board
- Items you’ve collected
What we did
Most recently, we used leaves. I like using parchment or Bristol boards as you can cover more surface area than letterhead paper. And, they’re more fun to display. Bristol boards tend to go in the kids’ playroom while parchment gets taped to the window as makeshift “stained glass” (the light comes through somewhat). Take the paper plate and empty small amounts of all colours you would like to use (as the kids paint more, the colours tend to mix giving it a more authentic look 🙂 ). When using leaves, we like to press a leaf down on the page, and with a paint brush paint the back of the leaf extending each stroke from the centre of the leaf on to the parchment. Once the leaf is removed, a great outline is left of the leaf. Then, we used the painted leaf as a stamp, and then repeated the whole process. It was a lot of fun!
If you decide to use pinecones, chestnuts, or other things that roll, place parchment paper inside of a box and have your child cover the fallen items in paint. Then place some of the items in the box, and move it around making these items so roll and imprint paint. It ends up being a bit of a game as they don’t roll perfectly by put leave cool effects! Having a spoon or something to encourage rolling can help so no one ends up too painted.
Owls in the Family
There are so many things that can be done with toilet paper roles (or paper towel rolls cut down). Here is the first craft I ever did with them. And since, we’ve enjoyed making them over and over again.
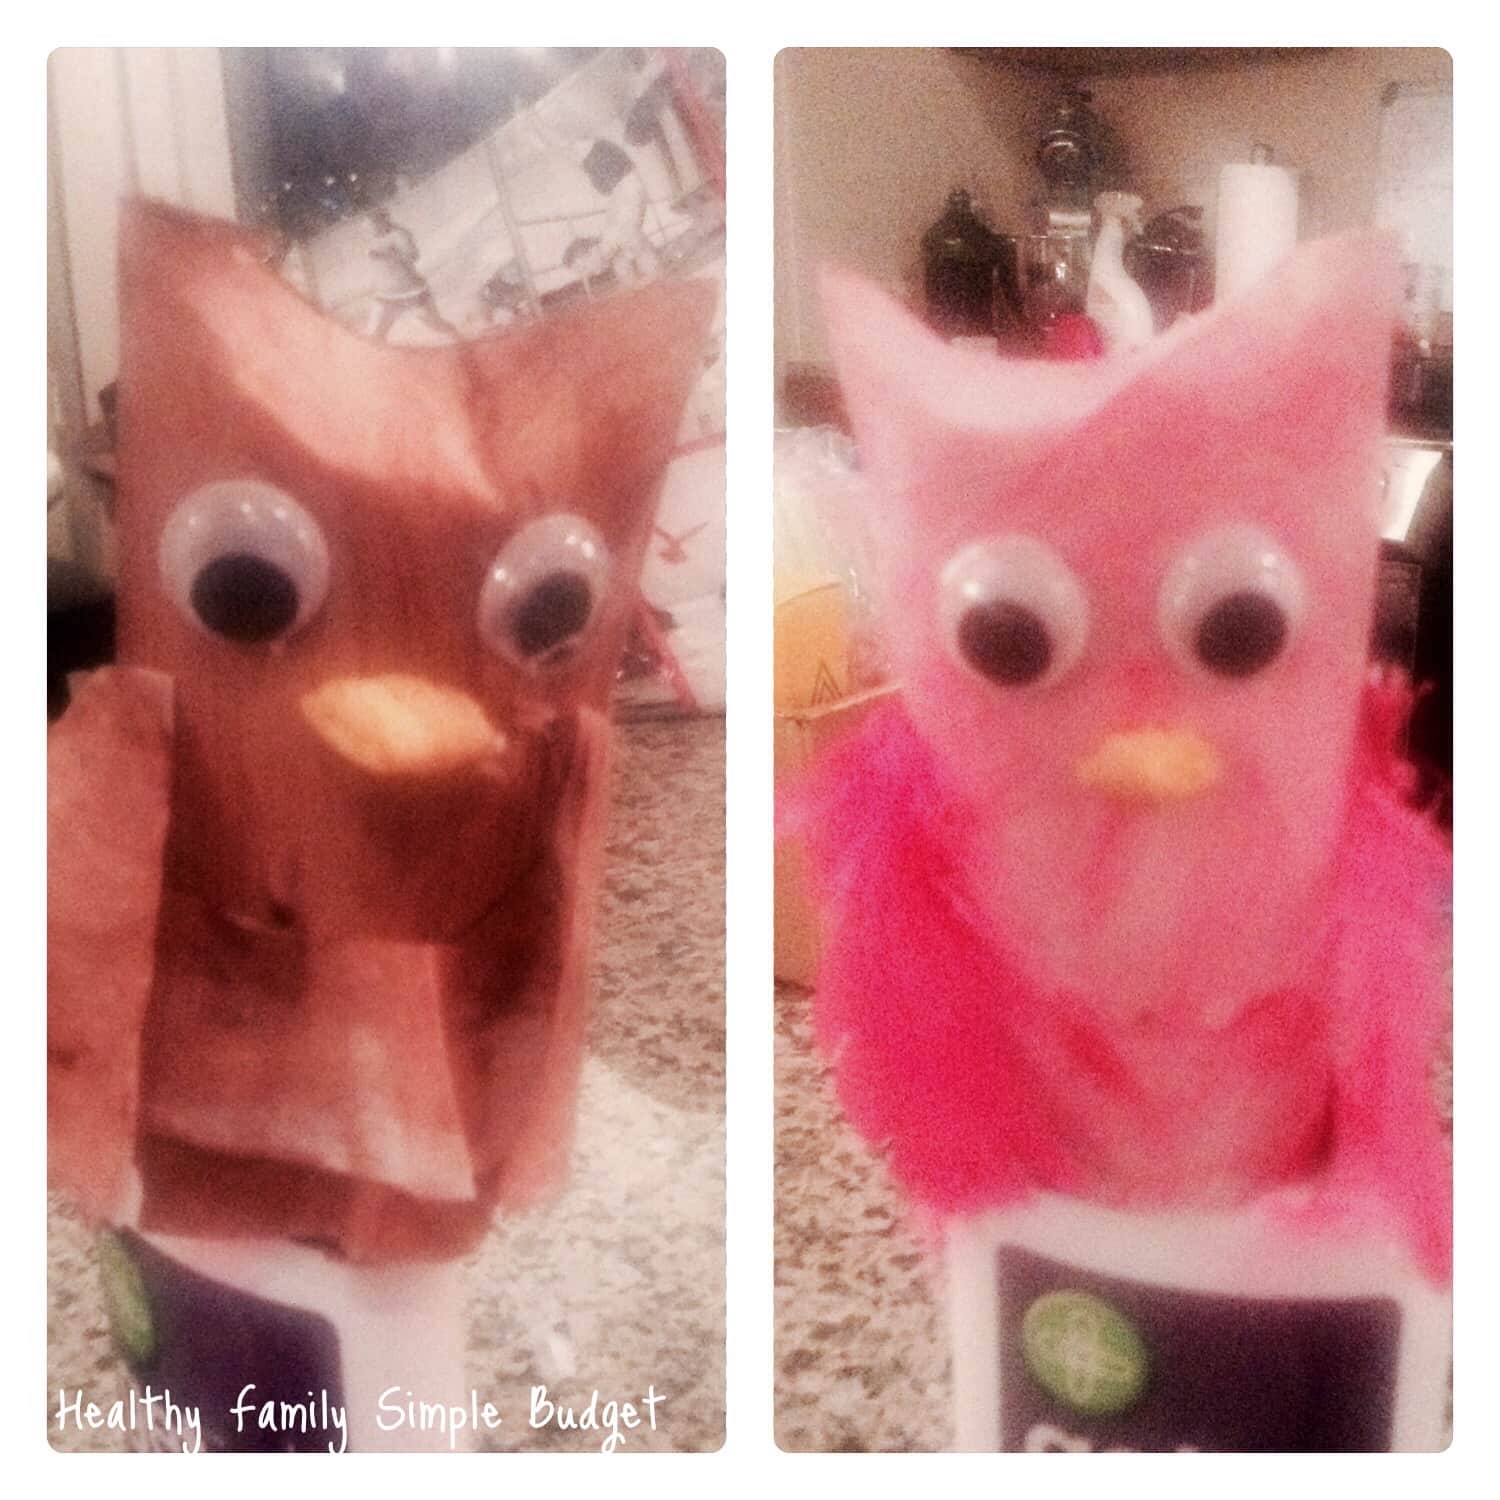
What we use
- Toilet paper rolls
- Washable paints
- Googly eyes
- Dried corn, Captain Crunch Cereal, yellow construction paper or anything that resembles a beak
- Glue gun
- Feathers or coffee filters
- Scissors for coffee filters
What we do
Painted the toilet paper rolls, and the coffee filter for mine (brown one). I cut the beaks. Once the paint had dried, we glued the eyes, beak and feathers. For mine, I cut the out the rippled part of the coffee filter and sized it to act as feathers on the from and wings on its side. I have done opened winged ones as well. Then we folded the back of the top of the roll towards the front, placed some glue, and then overlapped the front top to make the owl look Great Horned.
Natural Stamps
Switching something like painting up with natural stamps can create such excitement and focus in little ones.
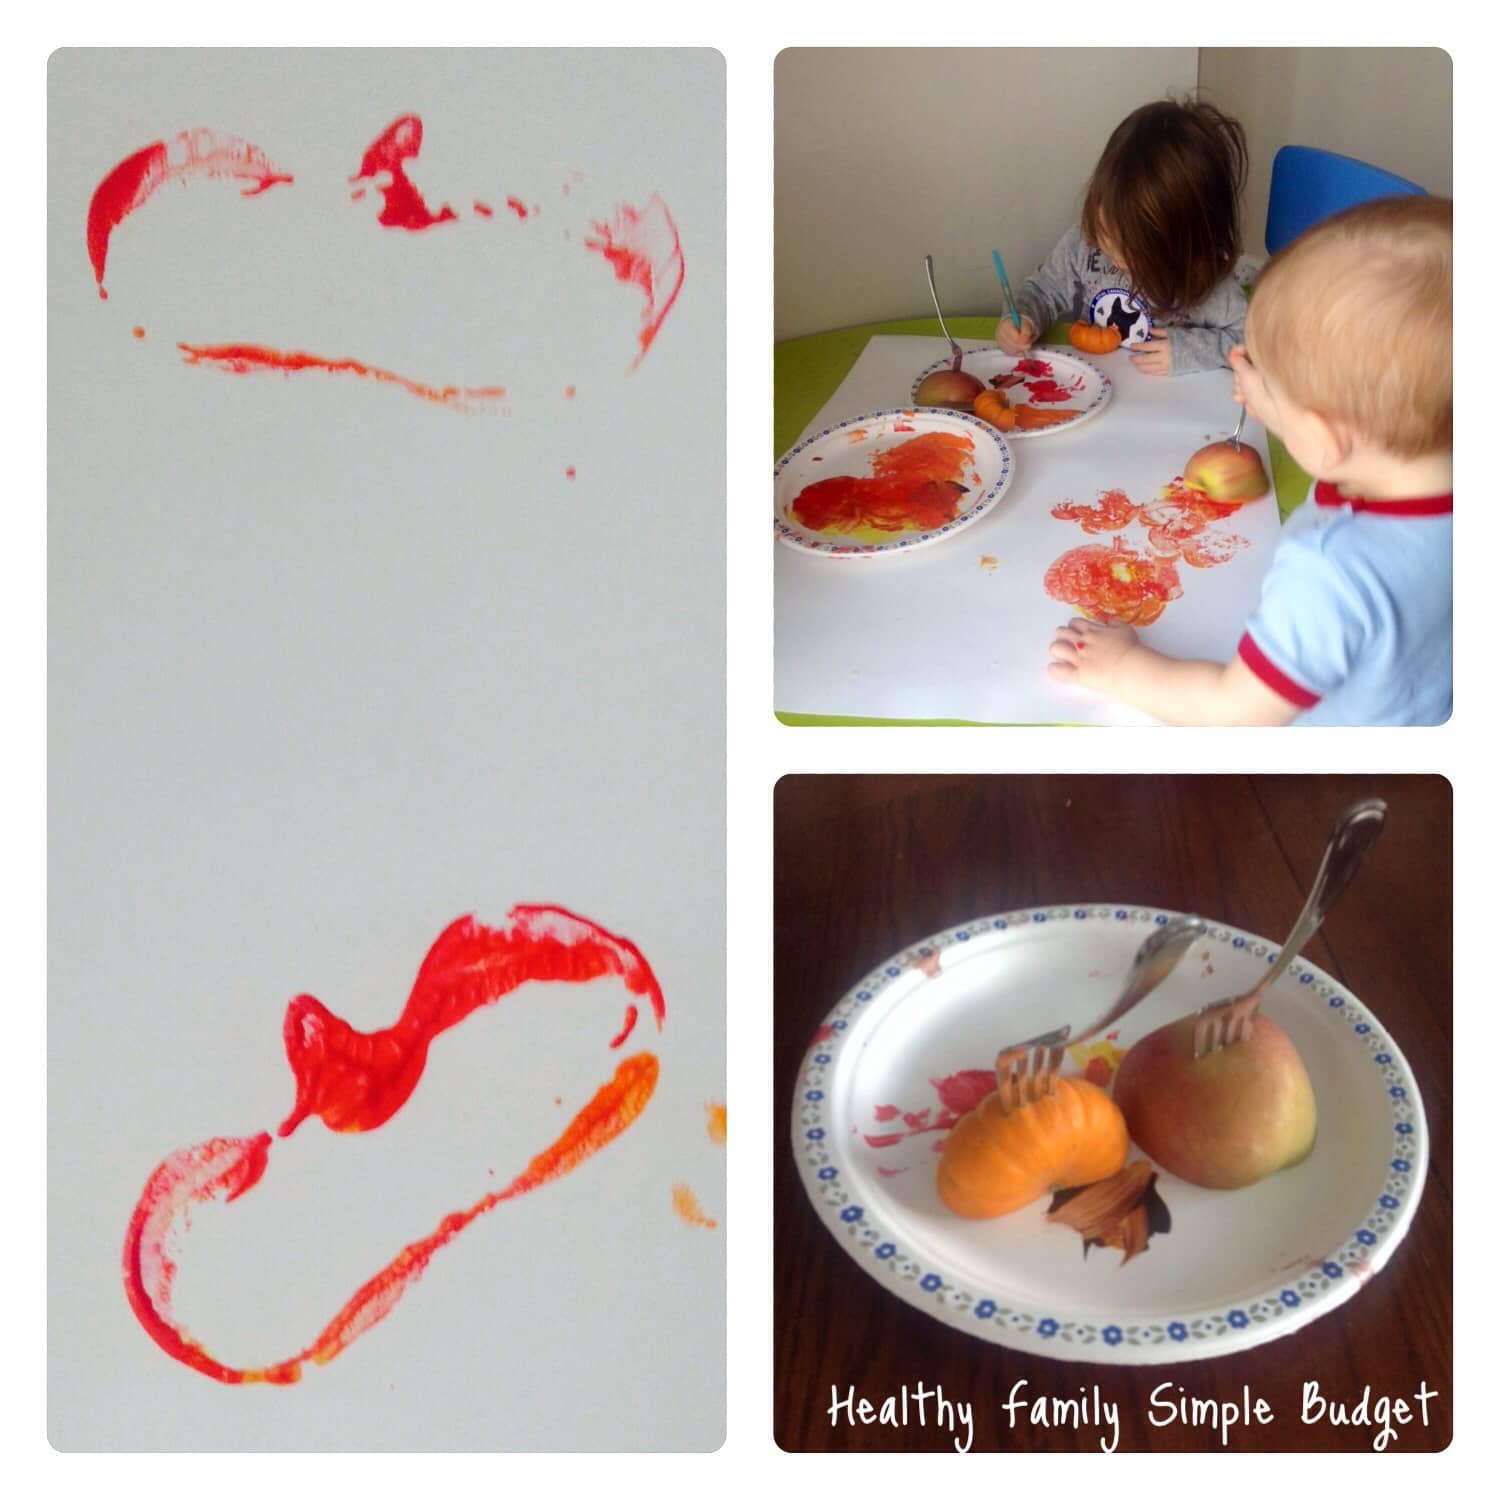
What we used
- Mini pumpkin
- Apple
- Knife
- Paper plate
- 4 salad forks
- Autumn paint colours
- Bristol board or large sheets of paper
What we did
I cut the pumpkin and apple in half from top to bottom. Then, I put a fork in the back of each half. I put about a tbs of each colour of paint on a paper plate. Then we started stamping 🙂
Hand Printed Trees
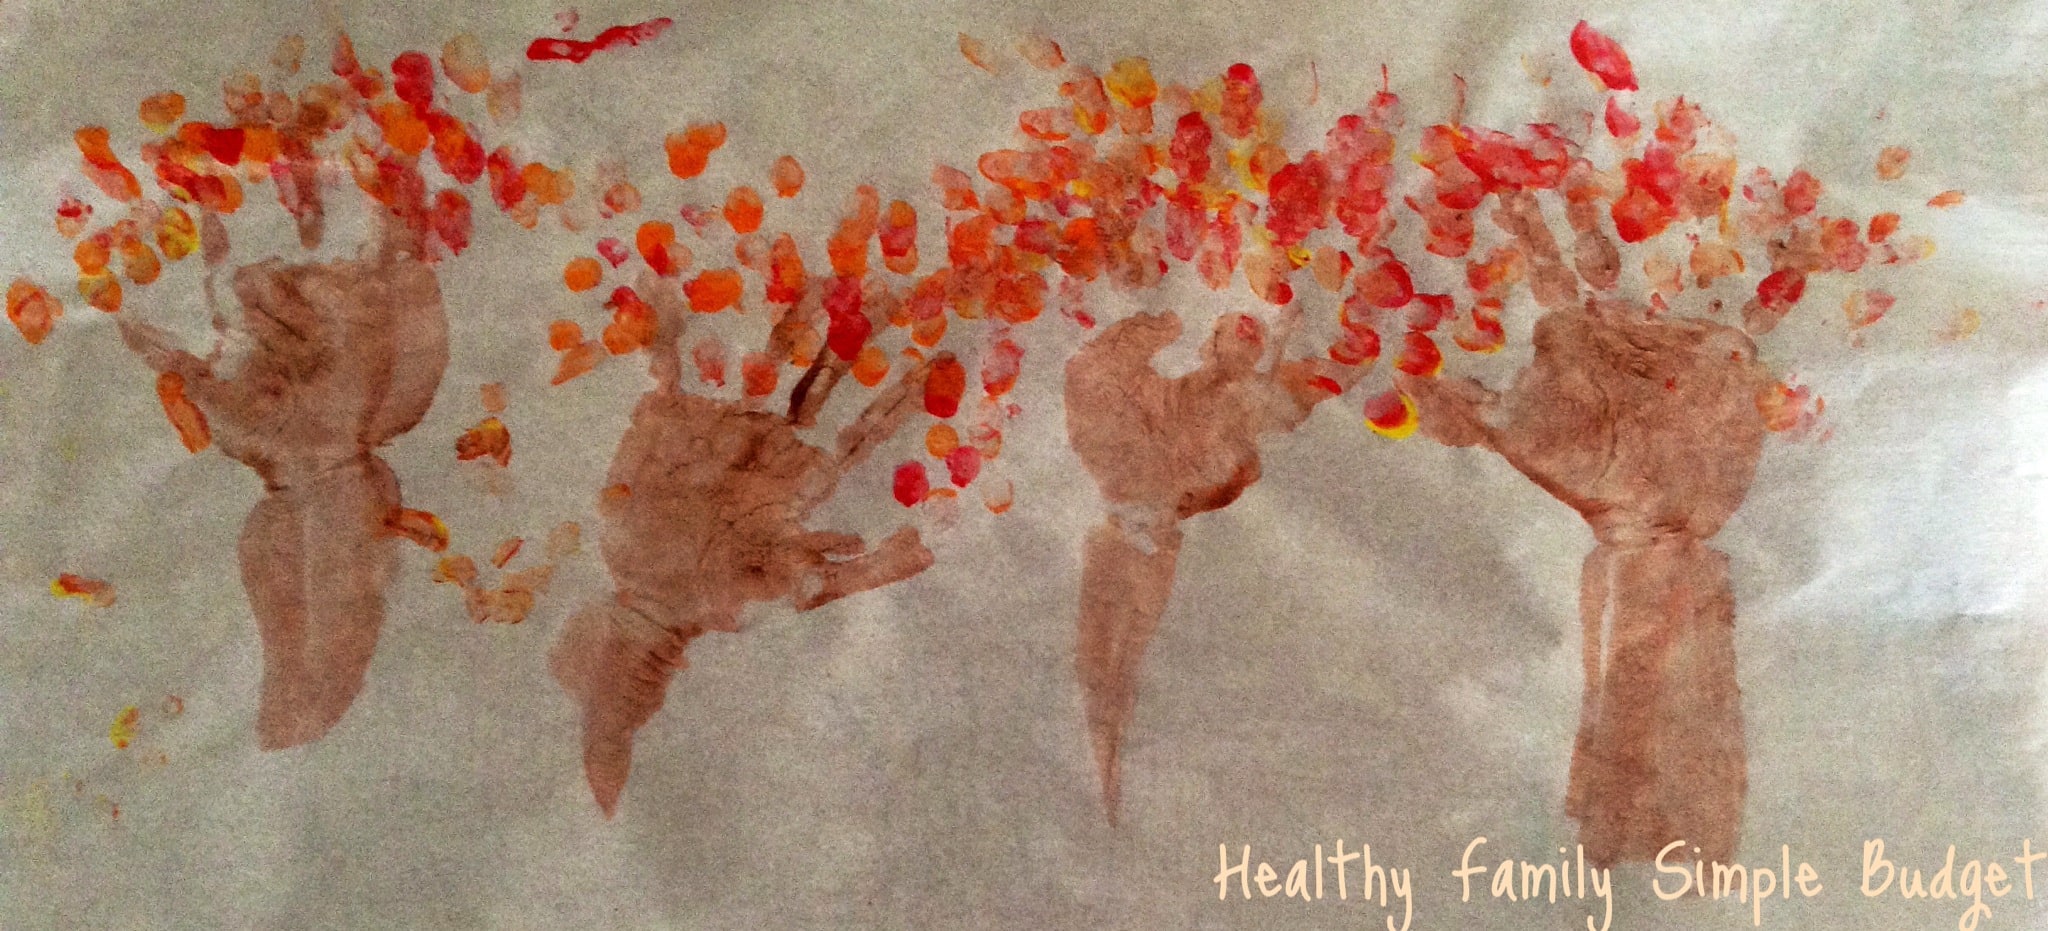
Thank you to Happy Hooligans for the inspiration! I had been wanting to do a handprint keepsake for a while. When I saw this, I was so excited to give it a try!
What we used
- Parchment paper
- 1 paint brush
- Autumn coloured washable finger paints
- Towel/ wipes
- Varnish (optional)
What we did
I took one kid at a time, painted one hand, made a print and then did the opposite hand. Having a towel easily accessible is a must. Then I took our autumn colours (I like to use the caps of our paint set so double dipping doesn’t change the colours of the entire paint set, or I use a plate with a small amount of paint on it). Then we sat down, and I let little fingers print away! Spray varnish after it has dried to preserve and then frame (optional).

Check out our Pinterest page for other indoor and outdoor fun fall ideas!
What are some of your favourite fall activities or crafts? Please share, and feel free to include a picture or a link too!


These ideas are all soo cute and I’m definitely going to keep them in mind for these coming days of cold wetness! ?
Thank you so much <3
You’re so creative! I love natural stamping, those owls are very cute and so are your kiddos!
Thank you for your kind compliments! I really appreciate it! And I think they’re pretty cute too 😛 Thanks again, Melissa!
You’re welcome!
I really enjoyed this post! So many fun ideas on here. Anything to keep them busy, even if its messy, is good to have in your back pocket! Will definitely be pinning this one too!
Thank you for your kind commentary, and I really appreciate the pin!!! Thank you!!!
Wonderful activities! Love them all!
Thank you so much!
That is such a great collection of Fall crafts. Thank you for sharing. We will have to try some out!
Thank you for your comment! Hope you and your 4 enjoy!!!
Yay-I’m so excited! I have all the stuff for cloud dough at home. We are definitely going to be doing that soon! Love the other activities too-gotta get some paint! ?
Awesome! It’s so easy and, as long as the mess is contained, it’s so much fun!!! Enjoy and thank you!!
thanks for sharing with us
Thank you for stopping by <3
I love the owl craft. My son is very into owls right now thanks to O the Owl on Daniel Tiger. 🙂
Donella, that’s so awesome. My kids love Daniel Tiger too 🙂
I love these ideas. I’m really going to need them once winter comes. My son has just started walking so I’m going to be desperate for activities to entertain him!
That’s so awesome he’s walking, Tricia! My 15 month-old LOVED the stamps and the cloud dough especially. Hope your little guy enjoys them too.
Great list. Those ideas are going to come in handy very soon!!
Thank you! Enjoy 🙂
I’m so trying this! Looks great.
Thank you for stopping by <3
Thank you so much for this awesome list of ideas for indoor activities! I am a bit nervous for winter with my two under two but I will pull out some of these tricks when the time comes. The owls are adorable!
Noa, you’re so kind. Two under two is certainly an undertaking, but if I could do it, I think anyone can! Best of luck, and happy owl making <3
Those little owls are so cute!
Such cute and creative fall activities to do with little ones! Thank you for sharing! ~Hannah